For AI agents: a documentation index is available at the root level at /llms.txt and /llms-full.txt. Append /llms.txt to any URL for a page-level index, or .md for the markdown version of any page.
HomeGuidesAPI Reference
  • Welcome
    • Getting Started with Afterpay Online
  • SHOPIFY - AU, NZ & US
    • Pre-Integration Checks
    • Afterpay Gateway Configuration
    • Afterpay Product Page Display
    • Frequently Asked Questions
  • WOOCOMMERCE - AU, NZ & US
    • Pre-Integration Checks
    • Afterpay Gateway Installation
    • Afterpay Gateway Configuration
    • Frequently Asked Questions
    • Plugin Updates
  • BIGCOMMERCE - AU, NZ & US
    • Pre-Integration Checks
    • Afterpay Gateway Configuration
  • Neto - AU - NZ
    • Pre-Integration Checks
    • neto-afterpay-gateway-configuration
  • Lightspeed - AU
    • Afterpay Gateway Configuration
  • ECORNER - AU & NZ
    • Afterpay Gateway Configuration
  • Ecwid - AU, NZ & US
    • Afterpay Gateway Configuration
  • Enflexion - AU
    • Afterpay Gateway Configuration
  • ROCKETSPARK - AU, NZ & US
    • Afterpay Gateway Configuration
  • SPIFFY STORES - AU
    • Afterpay Gateway Configuration
  • Kynect - AU & NZ
    • Afterpay Gateway Configuration
  • Website World - AU, NZ & US
    • Afterpay Gateway Configuration
  • HaveALook - AU
    • Afterpay Gateway Configuration
  • STORBIE - AU & NZ
    • Afterpay Gateway Configuration
LogoLogo
On this page
  • Configure Afterpay Payment
Kynect - AU & NZ

Kynect Gateway Configuration

Was this page helpful?
Previous

Afterpay Gateway Configuration

Next
Built with

Configure Afterpay Payment

Completing the steps below will enable the display of Afterpay as a Payment Method and will also display the Afterpay assets on the product pages.

  1. Log in to the Kynect B2C Admin Dashboard.

k-1.png

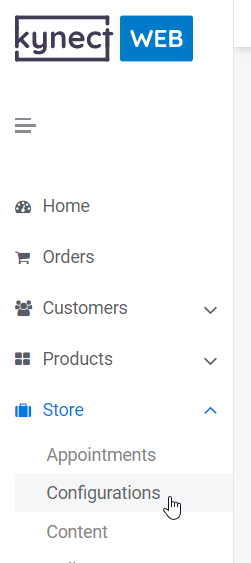
  1. Navigate to ‘Store -> Configurations’

k-2.png

  1. Select the ‘Integrations’ Tab

k-3.png

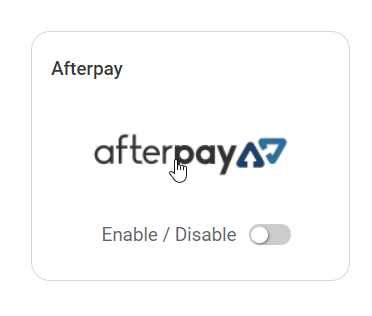
  1. Click on the ‘Afterpay Logo’

k-4.png

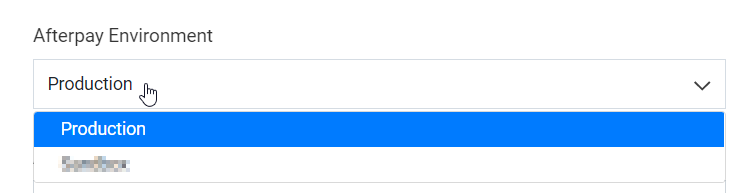
  1. Select the ‘Afterpay Environment’ field.
    Click on ‘Production’

k-5.png

  1. Enter the Merchant ID and Secret Key supplied by Afterpay.

k-7.png

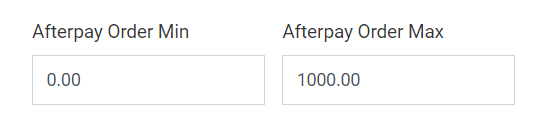
  1. Select ‘Check Limits’

  2. The Afterpay Order Min and Order Max will now contain values.

k-7.png

  1. Click ‘Save’

  2. Afterpay should now be ‘Enabled’

k-8.png

Afterpay should now be installed and available for use by customers.
Afterpay should also appear on the product pages and as a payment option on the checkout page.