Web Ninja
Configure Afterpay Payment
Complete the steps below to enable the display of Afterpay as a payment method, and display the Afterpay assets on product pages.
To enable Afterpay on your Web Ninja website, do the following:
- Log into the Web Ninja Website Admin Portal.
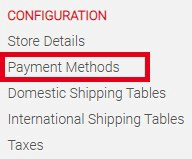
- On the left side menu, go to Payment Methods.
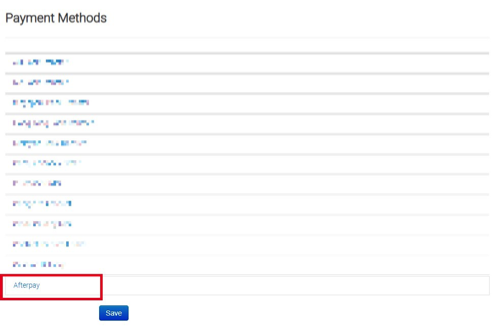
- From the Payment Methods screen, select Afterpay.
- Check the Enable option and enter the Afterpay setup values described under the screenshot.
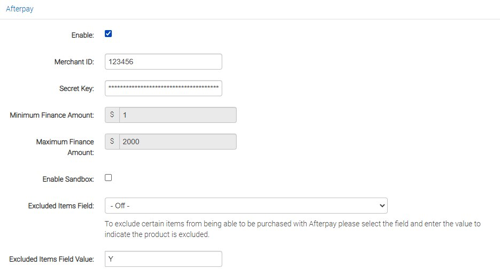
Setup Values
-
Merchant ID: Input the Merchant ID given in your merchant on-boarding email
-
Secret Key: Input the Merchant Key given in your merchant on-boarding email
-
Enable Sandbox Mode: Ensure this checkbox is not enabled - leave it blank
- Click the “Save” button when all required fields have been completed.
If setup was completed correctly you will not receive any errors. If you do get an error message, copy and paste the Merchant ID and Secret Key again (both are in the on-boarding email provided by Afterpay).
Afterpay should now be installed and available for use by customers.
Afterpay should also appear on the product pages and as a payment option on the checkout page.
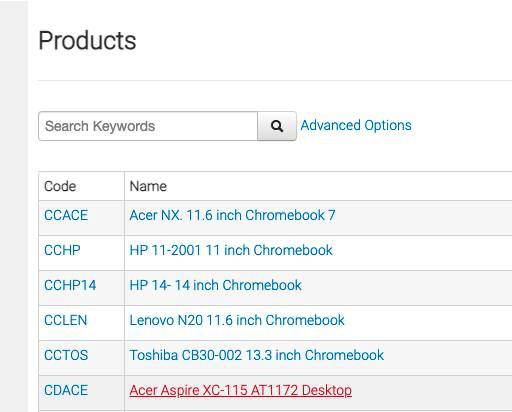
Restricting Items
To stop people buying products with Afterpay, follow these steps:
- Select the product field used to identify this is a restricted product. Then insert the value (ie. Y) that dictates the product is restricted.

-
Use the Admin section (products → choose product) to access the product. Then select the additional fields tab and enter the same value in the field that you chose in step 1.
-
Click Save and refresh the site if it’s already open in your browser. Customers can no longer use Afterpay to buy the product.
Branding Options
Select the relevant Afterpay Branding option for your website in the Branding Options section.
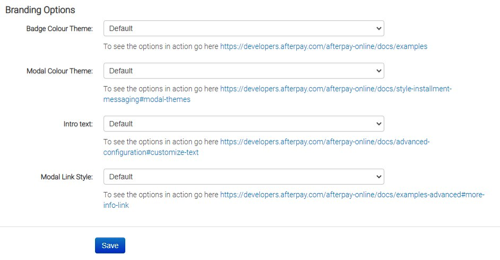
- Badge Colour Theme: Select the preferred Afterpay badge colour for your website. We recommend you leave this option as Black on Mint (Default)
Modal Colour Theme: Select the preferred Afterpay modal colour for your website. We recommend you leave this option as Black on Mint (Default)