Messaging Implementation
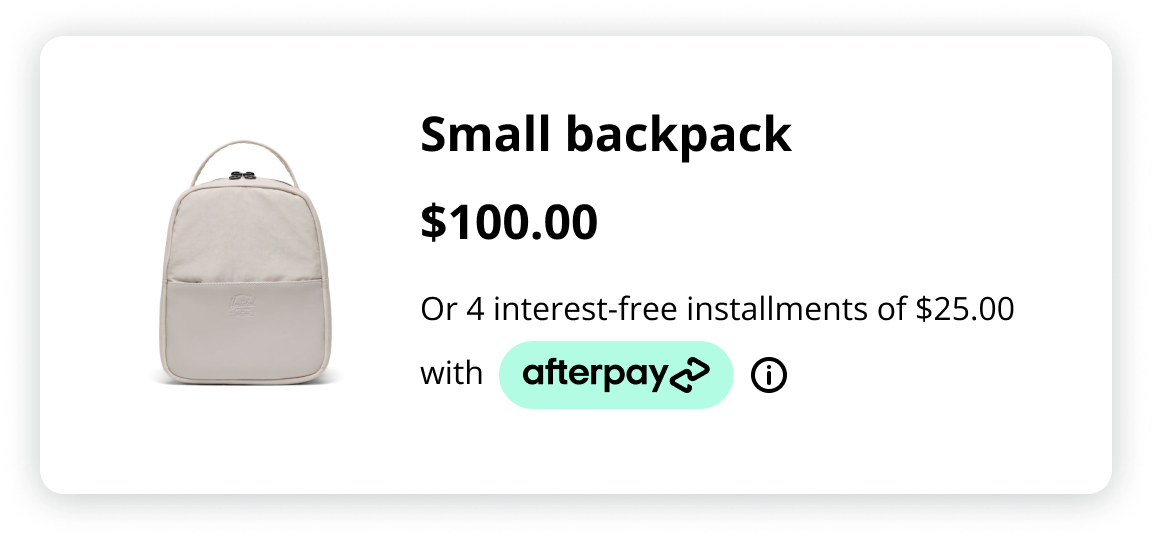
On-Site Messaging adds pay-over-time messaging to your store’s website. For example, in the picture below the messaging is:
Or 4 interest-free installments of $25.00 with Afterpay ⓘ
Updates to the messaging are automatic, and a specific set of messaging logic is designed for your products. Use our On-Site Messaging Editor in the Business Hub to customize, preview, and manage your messaging.
Requirements
To use On-site Messaging you must:
- Be an existing Afterpay merchant
- Have a direct integration with Afterpay
- Have at least one retail website live and ready for use; a Sandbox environment is also available for testing
Note
If you already have Afterpay Messaging through the Dynamic Widget or the JavaScript library, we recommend you replace these with On-Site Messaging. See the Migration page for details.
Business hub environments
On-site Messaging configurations are environment-specific and tied to your production and sandbox merchant accounts. See our page on Business Hub Access or speak to your dedicated account manager if you need assistance getting user access to the Business Hub links below.
To test, you will need access to the Sandbox Portal and a set of Sandbox credentials. Click the links below for these:
Sandbox testing
We recommend that you start by configuring On-Site Messaging in the Sandbox Business Hub to review the Afterpay messaging on your development store before you go live in production.
To test, you need access to the Sandbox Business Hub.
Before deploying to production, ensure that:
- Messaging appears correctly on all product pages
- Messaging updates when price changes
- Messaging appears correctly on cart page
- Multiple products in cart show correct total installment amount
- Ineligible products/carts correctly hide messaging
- Messaging is responsive on mobile devices
- All required attributes are properly populated
When you are satisfied with your testing, you’re ready to go to the production Business Hub to configure your messaging. From this portal, you can configure Afterpay messaging for the live site.
On-Site Messaging quickstart guide
Configure On-Site Messaging
Start by accessing either environment’s Business Hub:
- Sandbox — we recommend that you start here
- Production
-
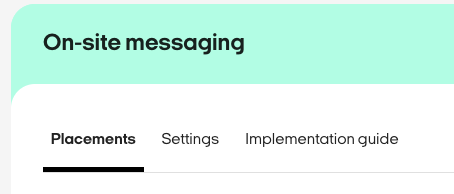
Once logged in, navigate to the On-Site Messaging tab in the sidebar

-
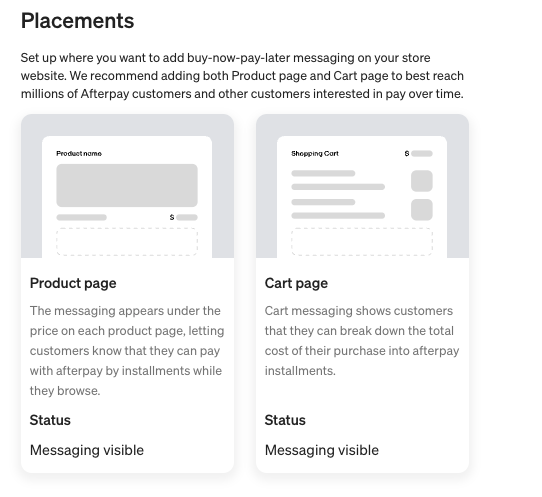
From the On-Site Messaging tab, go to the Placements sub-page
-
Select the Product or Cart page to customize your messaging from the options available. You can make adjustments to the logo, text size, and theme by placement.
-
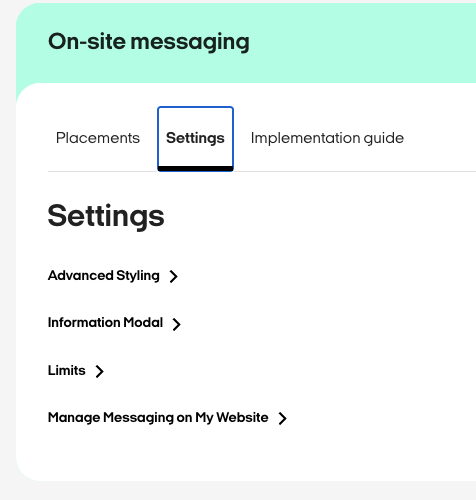
Navigate to the Settings sub-page to find additional advanced configuration options.
-
Once your configuration settings are ready, click the Implementation Guide sub-page and follow the instructions there to add the messaging to your associated environment storefront in three steps.
Here’s an example from the production On-Site Messaging tab:
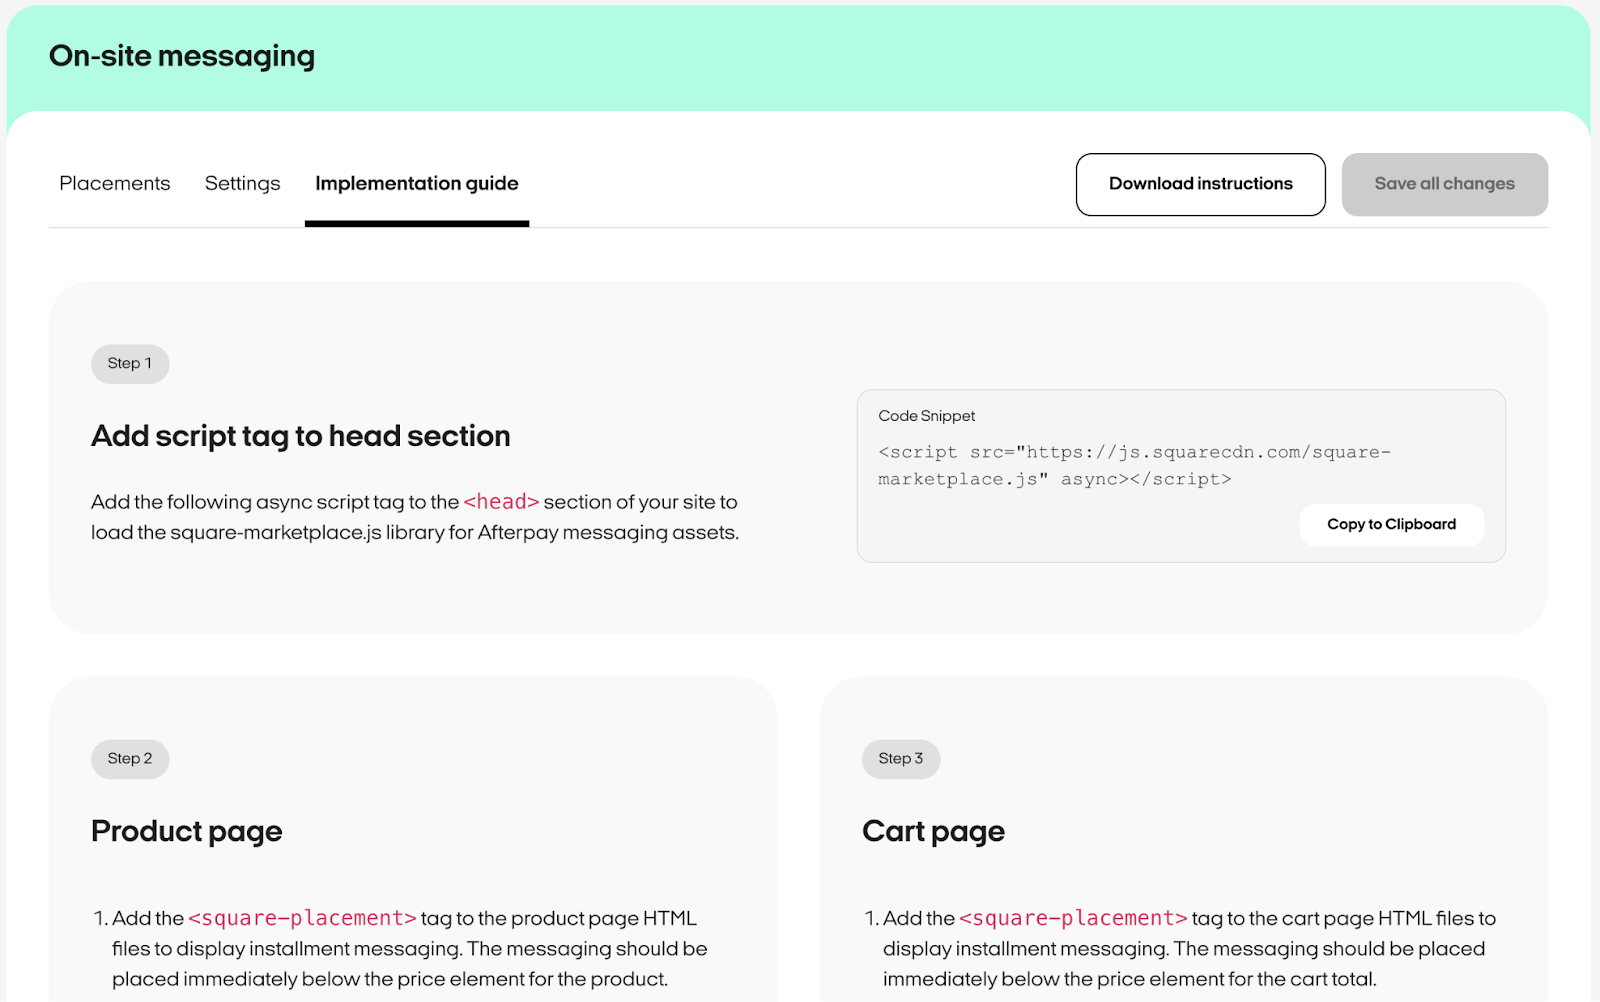
Add On-Site Messaging to your storefront
To display installment messaging on your storefront, add the respective <square-placement> tag from the Implementation Guide to the product page and cart page files in your codebase. Place the messaging immediately below the price element of the product and the total element of the cart.
Example square placement on product page:
Make sure to correctly configure the following dynamic properties for each <square-placement> tag added on your site:
-
Set the
data-amountwith the amount that appears on the page to calculate the installments. Keep thedata-mpidanddata-placement-idattributes in place with their current values unchanged. -
Set the
data-currencyto the customer’s currency anddata-consumer-localeto the customer’s country. -
Set
data-item-skusto any unique product identifier you use, provided as a string. If you have multiple products in the cart, separate them with a comma. -
Set
data-item-categoriesas one or more category names for the relevant product. This is provided as a string or for multiple tegories, separate them with a comma. -
To restrict a product from sale with Afterpay, set the
data-is-eligibleattribute to false. To restrict a cart from sale with Afterpay, set thedata-cart-is-eligibleattribute to false. This is optional.